GeMarkt Blog · Practical guide
Renter-Friendly Ways to Hang Art
Choose a way to display art in a rented home by checking permission, the wall surface and the complete frame—not just a no-drill label.

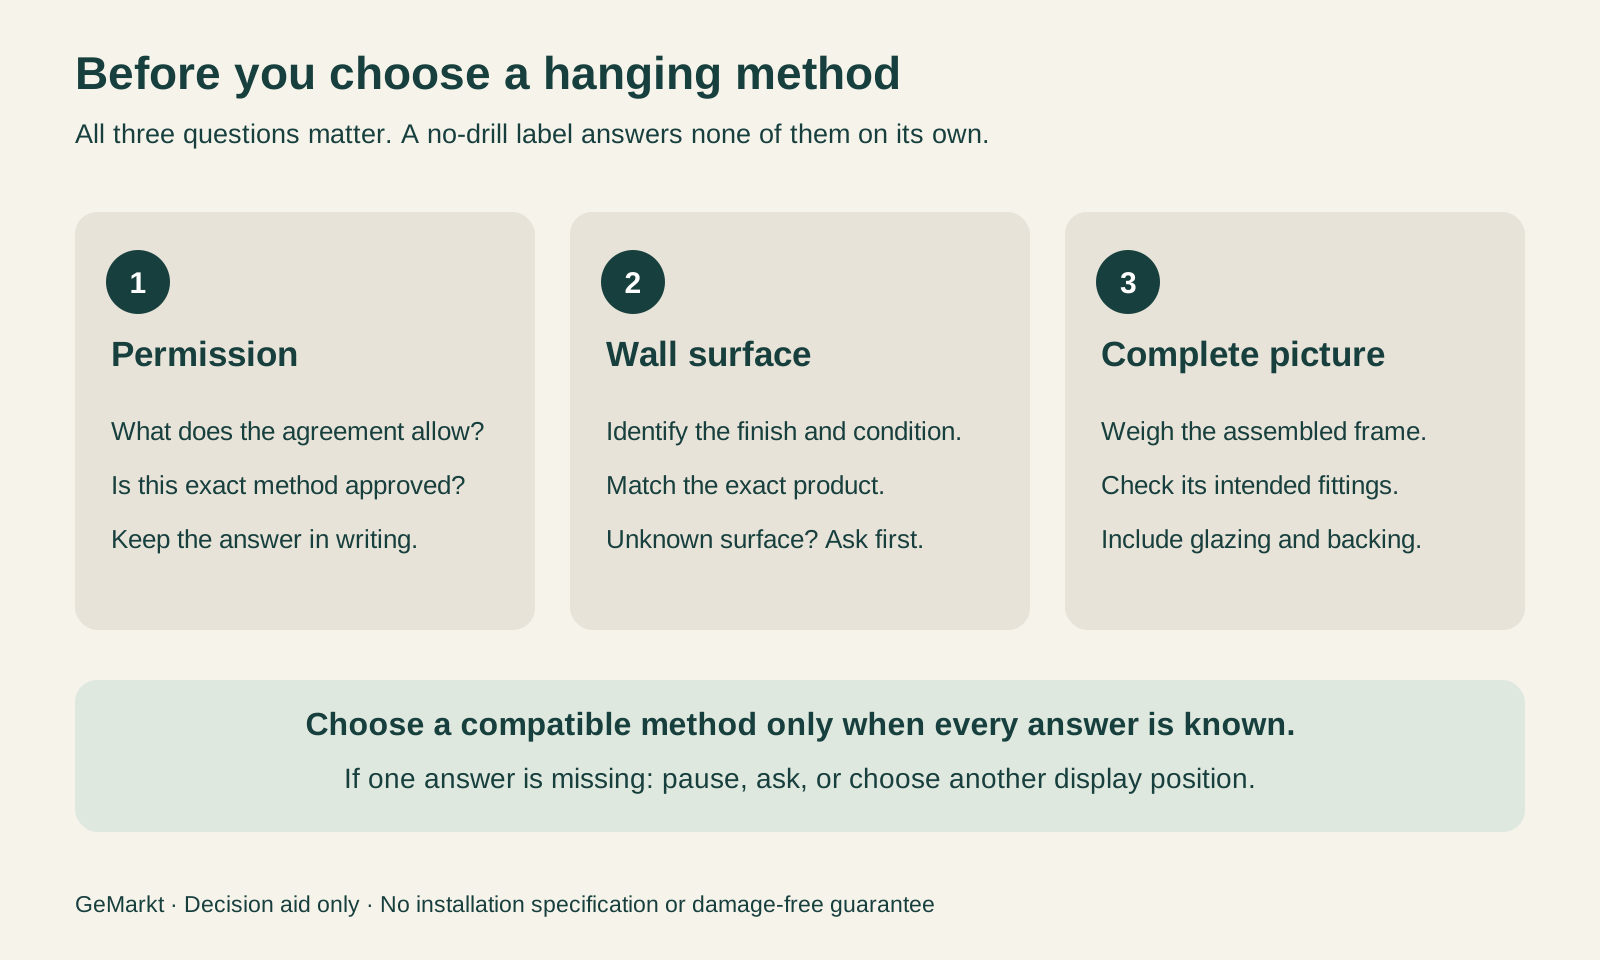
The best renter-friendly hanging method is one your landlord permits, your wall can support and your particular frame is designed to use. An existing picture rail may be the simplest option. A compatible removable adhesive can suit some lighter, replaceable pictures. An approved, professionally specified fixing can be a better choice than an improvised no-drill solution for a substantial frame.
There is no method that makes every rented wall suitable, and “removable” does not mean a guaranteed return of your deposit. Start with the room and the object. Buy the hanging hardware afterwards.
Start with permission, not a packet of hooks
Read the decoration terms in your agreement and ask the owner or property manager about the method you have in mind. Where permission matters, keep the written answer. An instruction allowing picture hooks does not necessarily cover a new rail, a shelf or adhesive on delicate wallpaper. This is a practical planning step, not advice about a particular country’s tenancy law.
Photograph the proposed wall before changing it, especially existing marks, lifting paint or old holes. Ask what the wall finish is if you cannot identify it. A freshly painted surface is not automatically ready for adhesive, and a wall that looks solid from the front can still have an unsuitable finish.
Choose the position before choosing the attachment. Do not make the area above a bed or cot, or a route where people could knock the frame, your trial location for an unfamiliar system. Uncertainty is a reason to choose another display position or get qualified installation advice.
Weigh the whole framed picture
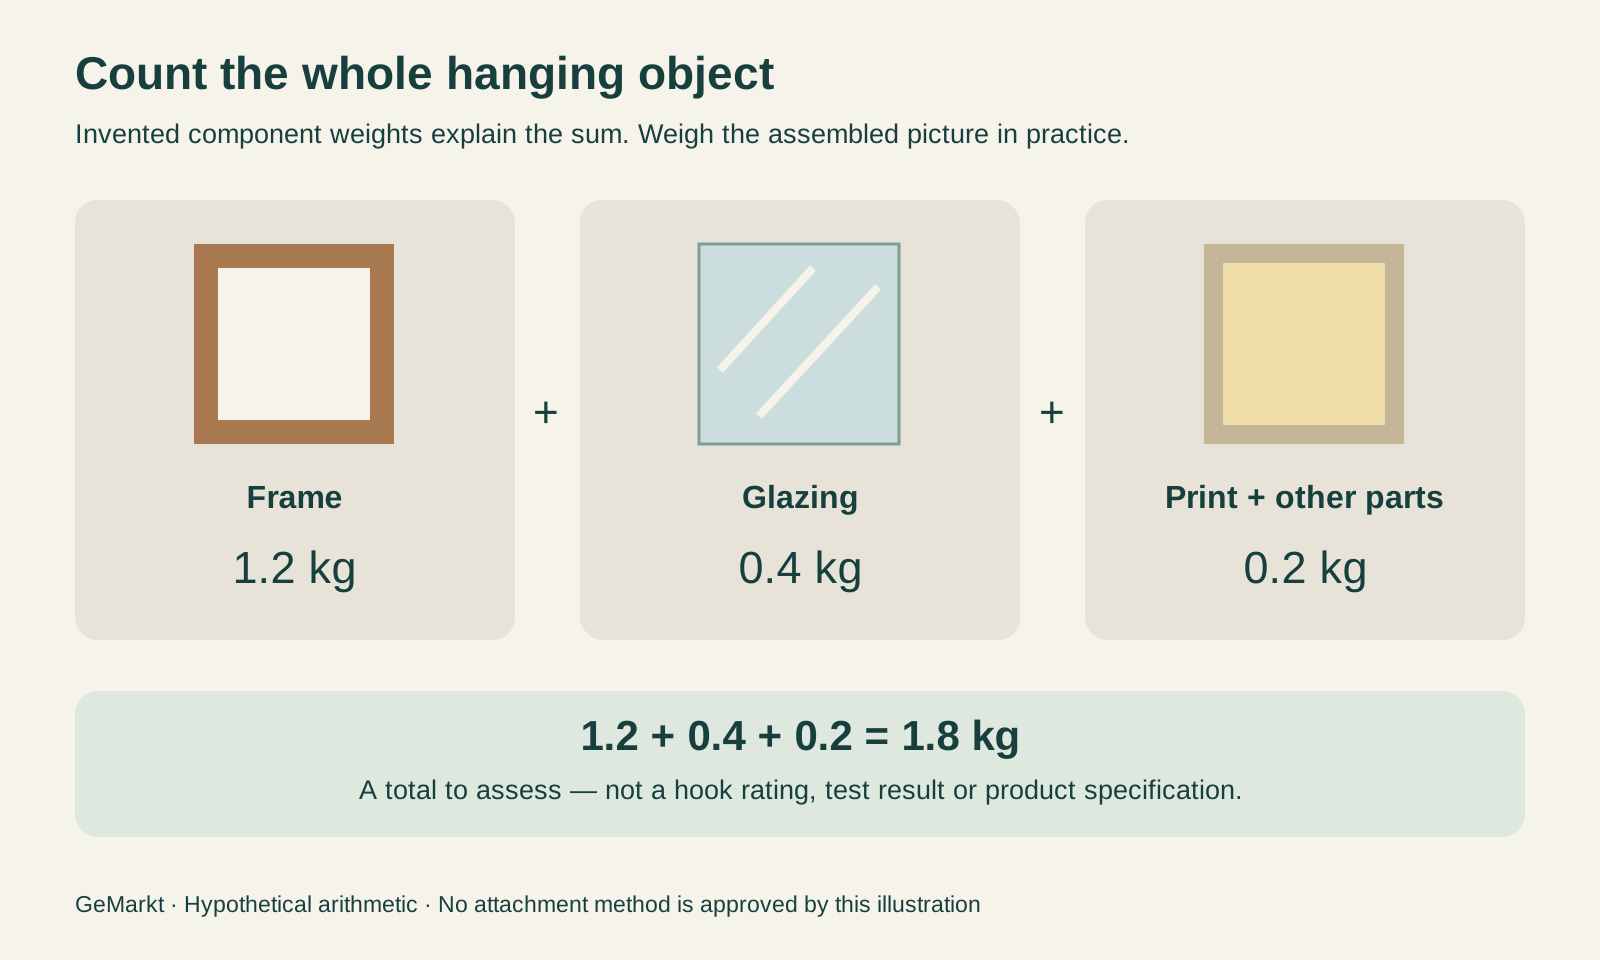
Measure the object you will actually hang, not the loose print or an estimate based on its size. The Canadian Conservation Institute includes the frame and glazing when assessing the hanging load, and stresses compatibility between the wall and hanging hardware. An attachment to a weak inner component is not equivalent to an attachment to the main frame. See its painting display guidance for the conservation context.
The drawing below uses invented component weights to explain the calculation; it does not describe a GeMarkt product or select a fixing. In practice, weighing the complete, assembled object avoids overlooking a component. Record the result with the outside dimensions and a photograph of the frame’s back.
If you change the glazing, frame or backing later, reassess the hanging method. A similar-looking replacement is not necessarily the same weight. Nor should you add together the ratings of assorted hooks or strips: only use a combination expressly covered by that system’s instructions.
Choose adhesive by the exact surface and product
“Picture-hanging strips” describes a category, not one set of instructions. For example, the US Command Picture Hanging Strips directions say to wait seven days after painting, include a one-hour waiting stage before rehanging, and prohibit use on wallpaper, above beds and for valuable or irreplaceable items. Those are restrictions for the system on that page, not a universal recipe for other adhesives.
By contrast, tesa’s specific Adjustable Adhesive Nail for Wallpaper & Plaster 1kg is sold for those named surfaces, with its corresponding strips and instruction leaflet. That difference is the point: one manufacturer’s wallpaper-compatible product does not make another product suitable for wallpaper.
Keep the exact packaging and instructions, including preparation, capacity, waiting and removal requirements. Check the frame’s attachment surface too. Do not substitute a household cleaner, double the strips or improvise a backing because the first arrangement seems inconvenient. If the product’s conditions do not fit your wall and frame, choose a different method rather than trying to strengthen it yourself.
Use an existing rail with its matching system
A purpose-made picture rail can be especially useful in a rented home because you can change a picture’s position without making another wall hole each time. CCI describes rail and track systems in its display guidance. Installing a new rail, however, still requires its own approved attachment.
First establish that what you see is actually a picture-hanging rail, not decorative moulding. Ask for the system’s identity and compatible hooks, cords or rods, its limits and any installation information. An old rail without that information is not an invitation to test it with your heaviest picture.
Visible cords need not ruin the arrangement. Treat them as part of the composition: keep the group simple and compare aligned tops with staggered frames before deciding. If the existing rail cannot be verified, return to the permission discussion. Do not attach an improvised cord to an architectural detail simply because it is conveniently placed.
Make fewer positions work harder
A rental often benefits from one considered group rather than pictures scattered onto every spare wall. Choose a place you regularly see, then arrange the proposed frames on the floor or on a scaled paper drawing. Our guide to planning a gallery wall on paper helps you settle spacing before any installation.
For a small room, try one main picture and one quieter companion before planning a large grid. Leave space for doors, switches and the furniture you actually use. Judge the arrangement from the sofa as well as standing beside the wall.
Keep a note of the chosen outside frame dimensions. When changing the picture, a replacement print that fits the existing frame may let you preserve the arrangement, provided the complete hanging object and system remain suitable. That is a styling convenience, not permission to reuse an adhesive element whose instructions require replacement.
Consider a display that does not use the wall
If neither adhesive nor a wall fixing is suitable, smaller art can still belong in the room. A frame designed for tabletop display on stable furniture may answer the need better than a large leaning frame. Check the frame’s intended use and the furniture’s stability; do not assume that leaning against a wall prevents slipping or tipping.
Keep displays away from edges, frequent handling and places children or pets can reach. Heavy glazed pictures balanced on a mantel or a narrow shelf are not a low-risk substitute for proper hanging. Existing shelves also need an understood load limit and suitable restraint where required.
For composition ideas, see picture ledges and leaning art. Remember that adding a ledge usually creates a separate installation question. A no-wall option should genuinely avoid that question, not hide it behind a shelf full of frames.
Plan removal before you hang
Make sure you can follow the chosen system’s removal instructions without dismantling the room or losing access to a release tab. Keep those instructions somewhere you can find them at move-out, rather than relying on a remembered video for a different product.
If a frame shifts or an attachment begins separating, stop using that position and arrange safe removal rather than adding more adhesive around it. Ask for help with anything too awkward or heavy to handle safely. Do not pull at a failed mounting while standing beneath the frame.
Finally, agree any making-good work with the property manager before trying to repair a finish. For a rented home, a successful display is not just attractive on the first evening. It is a manageable choice from permission and installation through to the day the picture comes down.
Editorial record
About this article
- Author
- Publisher
- GeMarkt
- Published
- Reviewed
- Internal source & rights check. Conducted by GeMarkt Research Review. This is an internal editorial check—not independent peer review.
- Source standard
- Buying guide source standardSeparates measured or first-hand evidence from general guidance and keeps practical limits visible.
Found a claim that needs checking? Report a factual error.